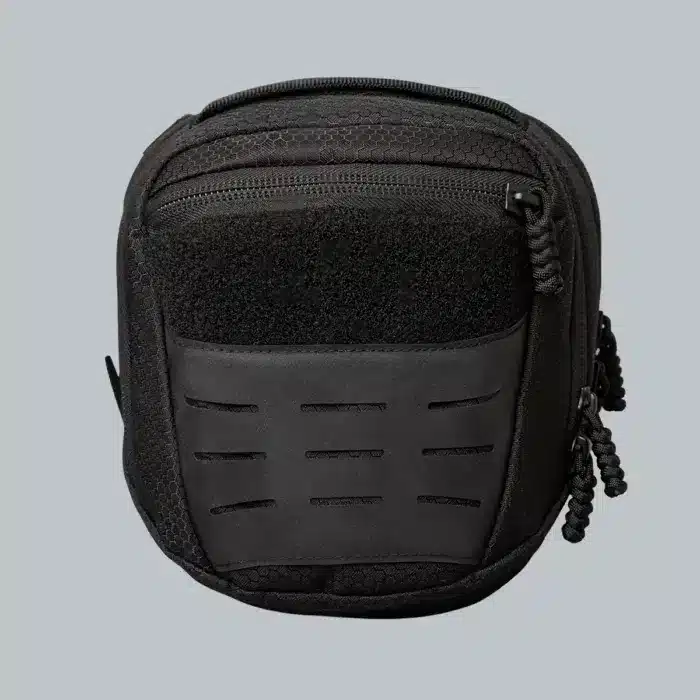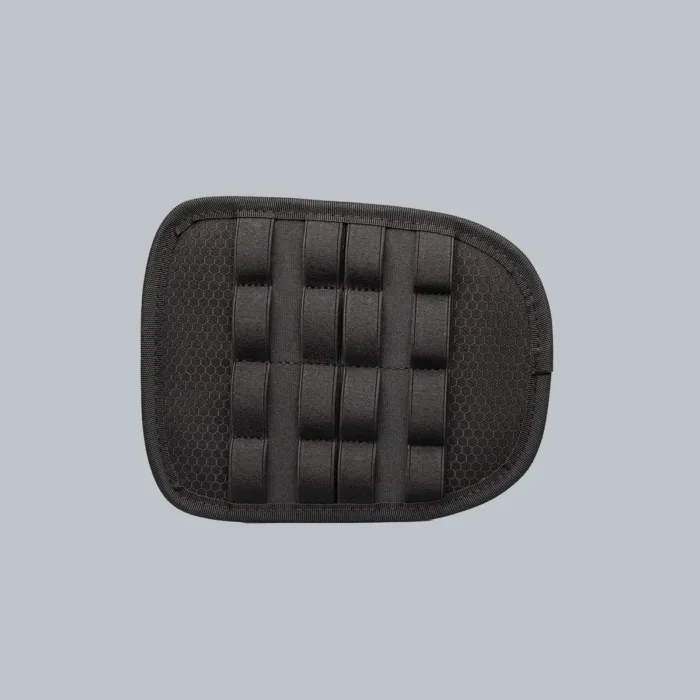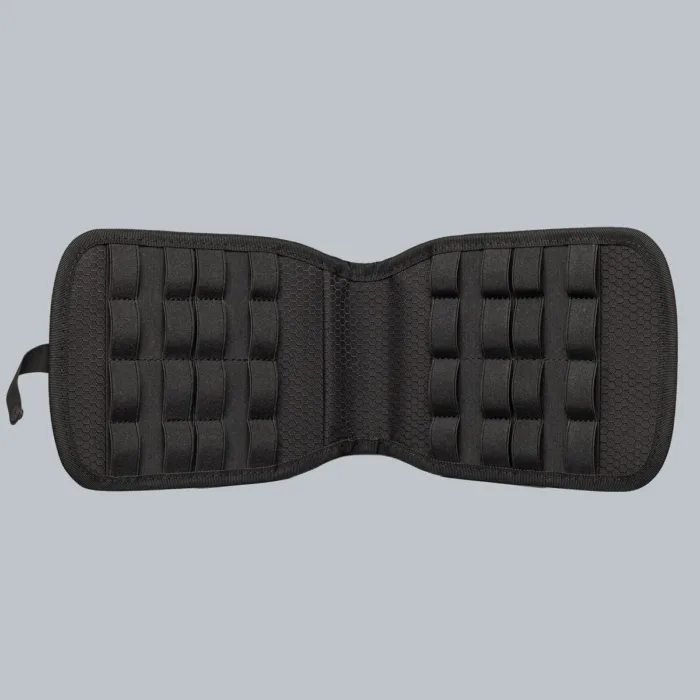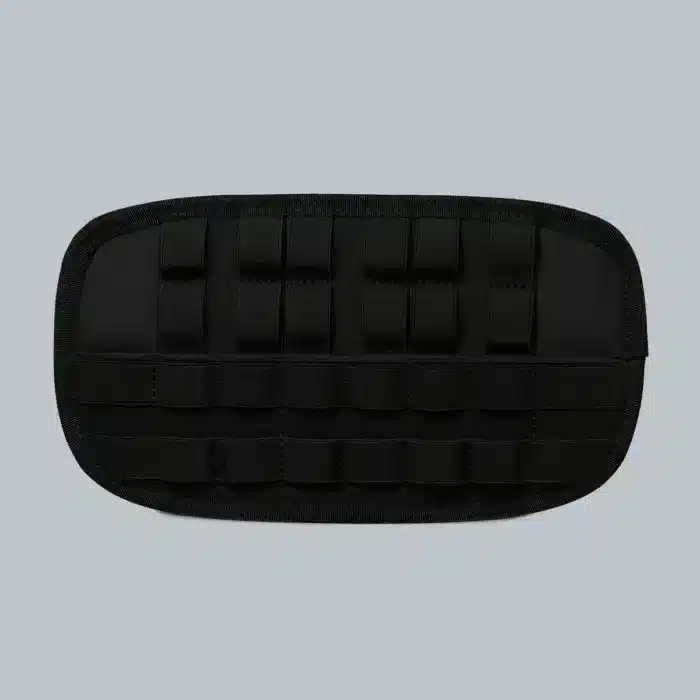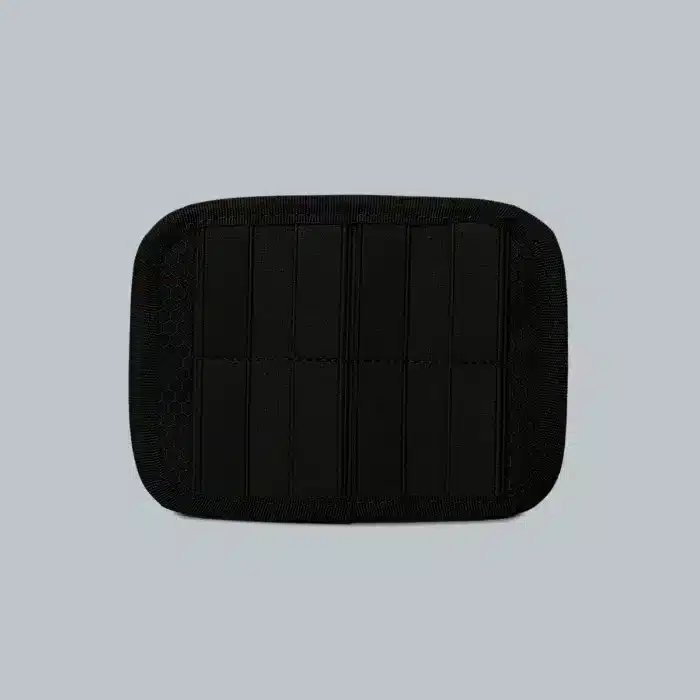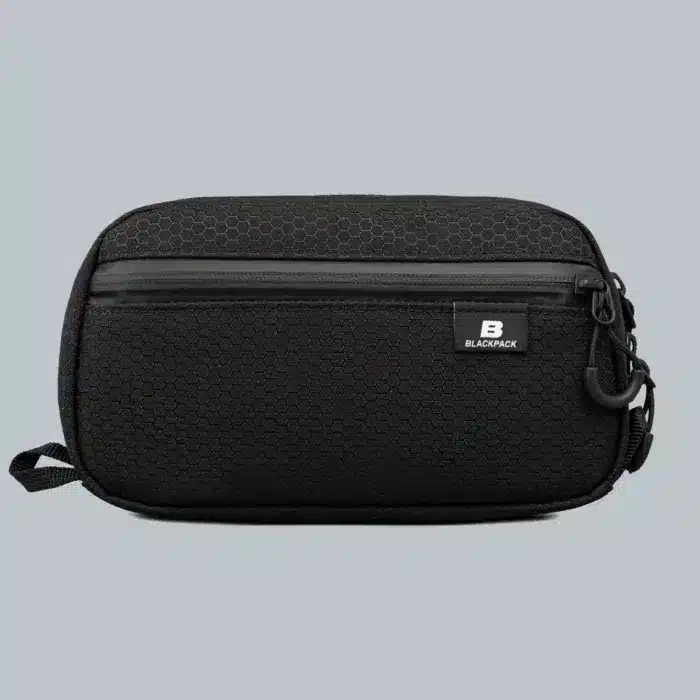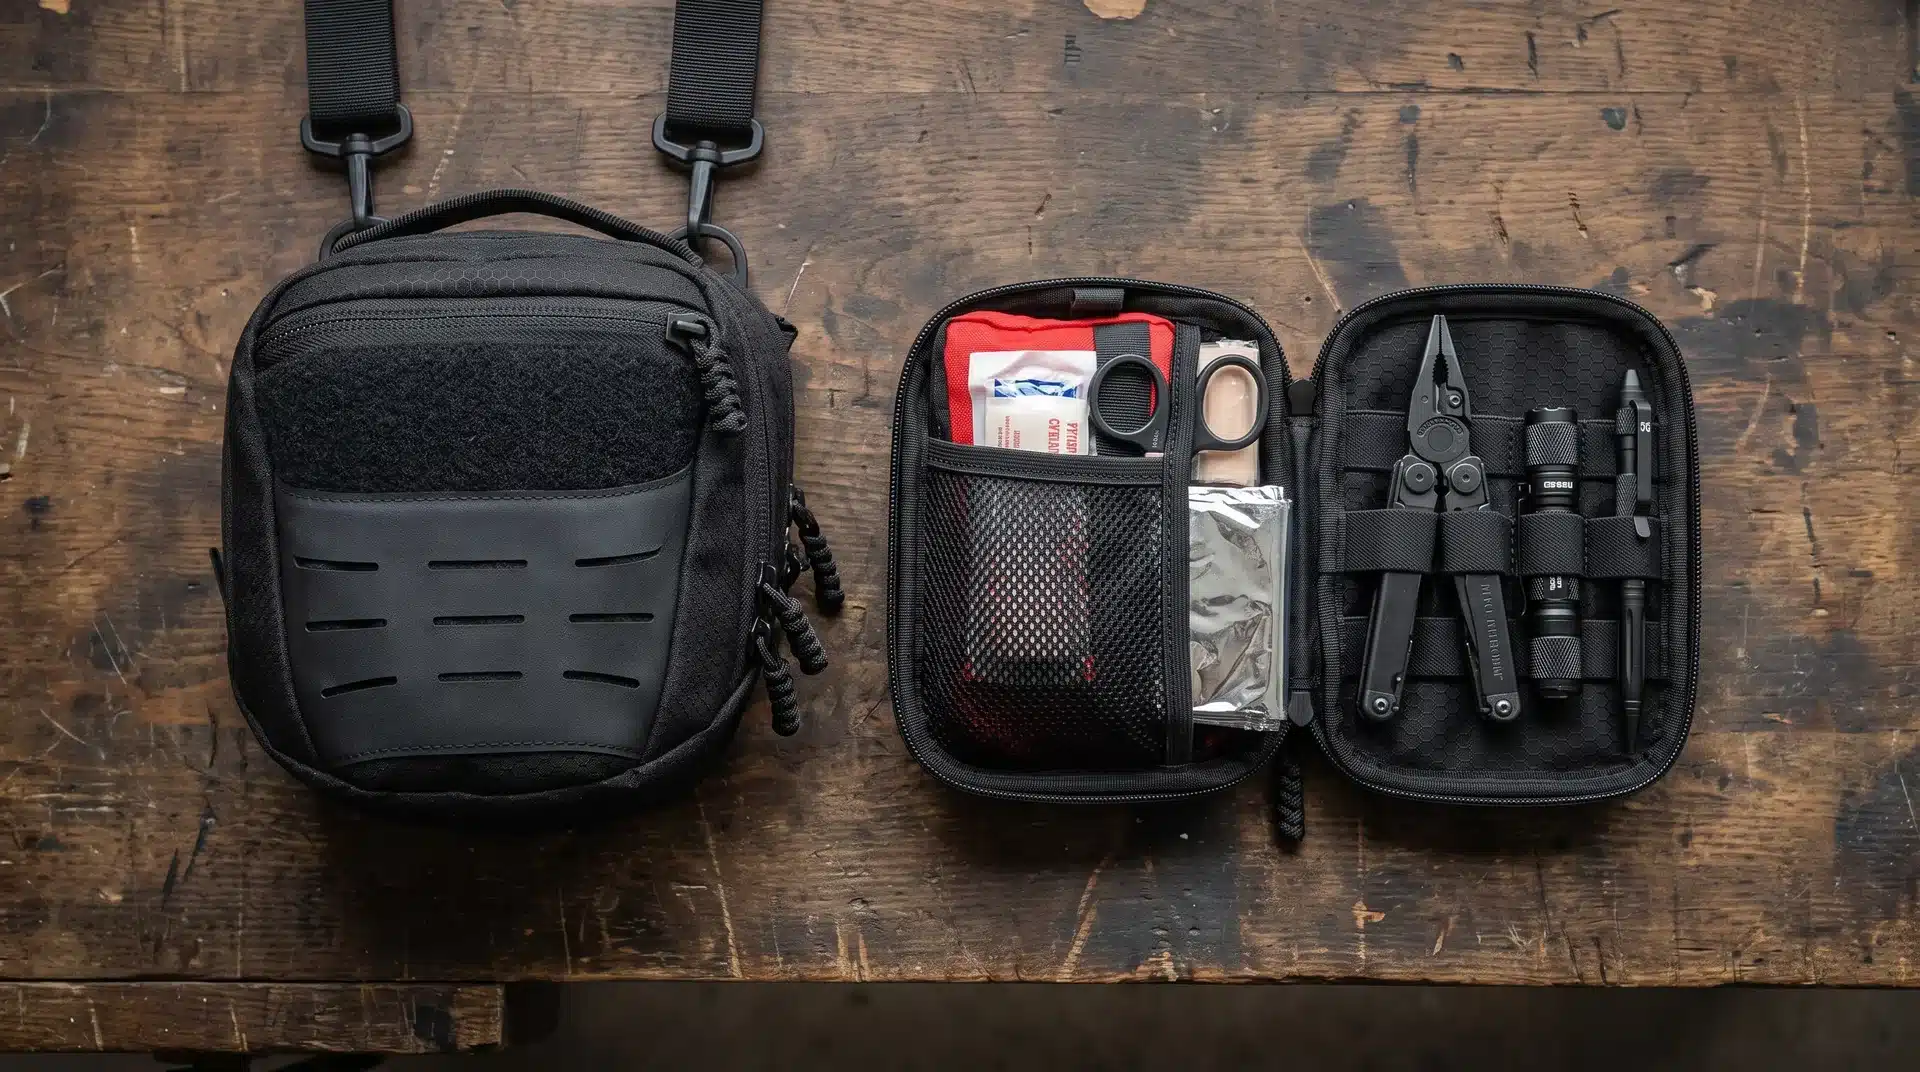
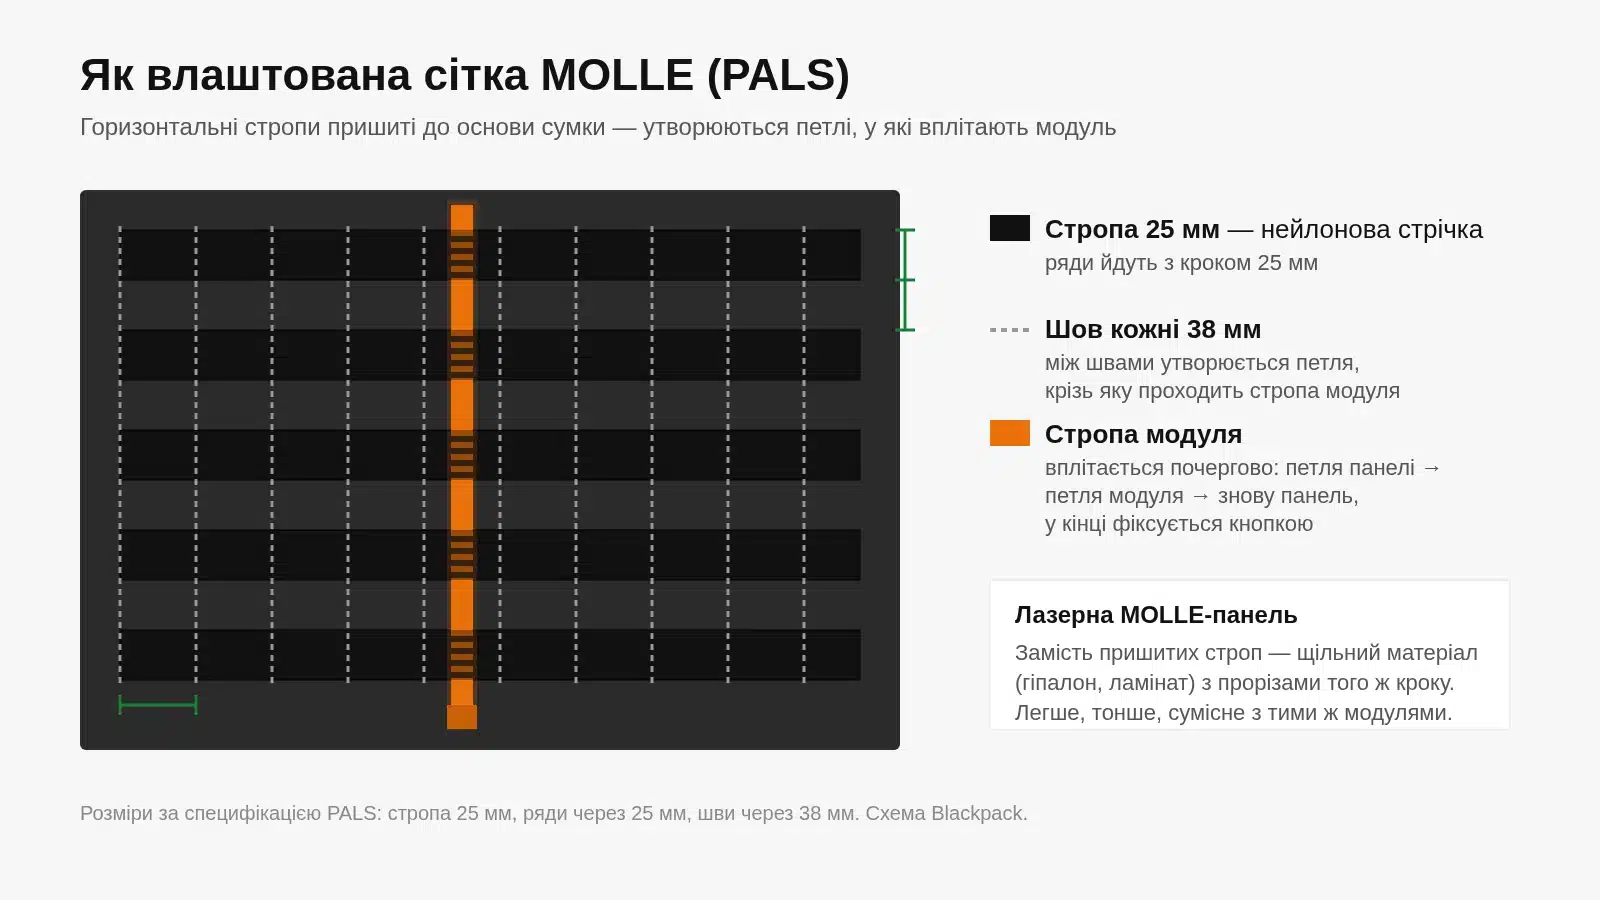
MOLLE (Modular Lightweight Load-carrying Equipment) is an attachment system that lets you hook extra modules to your bag, backpack, or vest: pouches, first-aid kits, organizers, or flashlights. The system is based on a grid of horizontal 25 mm nylon webbing straps sewn onto the fabric at regular intervals. The module has the same straps, and you “weave” it into the grid alternately, so it stays put without dangling, even while running.
The system was created for the military, but today MOLLE is a common feature in urban bags: it turns a single bag into a kit that you can reassemble for the day. Below, we explain how the grid is structured, how to secure a module correctly, how a laser-cut MOLLE panel differs from a classic one, and how we use this system in Blackpack bags.
MOLLE in a Nutshell
- MOLLE is the name of the entire load-carrying system; PALS (Pouch Attachment Ladder System) is the actual webbing “ladder” everything attaches to. In everyday use, both names are used interchangeably.
- Standard dimensions: 25 mm webbing, rows spaced 25 mm apart, stitches every 38 mm.
- The module is woven alternately through the panel loops and the module loops—this ensures it’s fixed rigidly and doesn’t slide.
- Laser-cut MOLLE panel is the modern version: instead of sewn-on webbing, it’s a dense material with slots at the same spacing. It’s lighter, thinner, and compatible with the same modules.
- MOLLE isn’t just for the outside: inside the bag, it holds organizers, first-aid kits, or tools—keeping everything in its place.
Where MOLLE Came From and What PALS Is
The PALS grid was developed at the US Army’s Natick Soldier Center, and MOLLE became the equipment standard in the early 2000s, replacing old belt systems where pouches just hung on a strap. The idea was simple: one unified grid where any module attaches the same way, regardless of the manufacturer. That’s why one brand’s pouch fits another brand’s backpack.
The PALS specification describes what the grid consists of: horizontal rows of 25 mm (1 inch) nylon webbing, with 25 mm between rows, and each strap sewn to the base every 38 mm (1.5 inches). In practice, the tolerance is 35–40 mm. A loop is formed between two stitches, which the module’s strap passes through. For more details, see the Wikipedia articles on PALS and MOLLE.
Classic Webbing vs. Laser-Cut MOLLE Panel
Today, MOLLE is made in two ways. The classic way is sewn-on webbing, like in military gear. The modern way is laser cutting: slots are cut into a dense laminated material (Hypalon, laminate) with the same 25 mm spacing. Modules don’t care what they attach to—the dimensions are the same.
| Classic Webbing | Laser-Cut Panel | |
|---|---|---|
| Construction | 25 mm nylon webbing sewn to the base every 38 mm | 25 mm slots in dense material |
| Weight & Thickness | Higher: each row is a separate layer of webbing | Lower: a single layer of material |
| Look | Tactical, “military” style | Clean, minimalist, suitable for the city |
| Module Compatibility | Full | Full, same spacing |
| What to Look For | Stitches must be reinforced (bartacked) so the loops don’t unravel | Slot edges shouldn’t fray—requires a material like Hypalon |
In the Every Day Bag 2, we used a laser-cut Hypalon panel: it adds modularity to the bag without making it look like a tactical pouch. You can attach a flashlight, a tourniquet in a case, or a small pouch for a phone or power bank to the panel.

How to Correctly Secure a Module to MOLLE: Step-by-Step
The most common mistake is sliding the module strap under only one row of the panel. The module will hold, but it will wobble and gradually slide down. The correct attachment is alternate weaving:
- Place the module against the panel and decide where it will sit: the top edge of the module should be level with the top row you are using.
- Thread the module strap under the first loop of the panel.
- Then — under the first loop on the module itself.
- Next, back under the panel loop, then under the module loop — and so on until the end of the strap. This alternation is what creates a rigid connection.
- Secure the end of the strap with a snap button or tuck it into the last loop, as per the module’s design.
- Pull the module in different directions: a correctly secured module won’t shift or pull away from the panel.
A wide module usually has two or three straps — weave each one separately, starting from the edge. To remove the module, repeat the steps in reverse: unsnap the button and carefully pull the strap out without jerking — this way, both the straps and the slot edges will last longer.
MOLLE Inside the Bag: Organizer Modules
MOLLE doesn’t just work on the outside. Inside the bag, it’s convenient for organizing things that easily get lost: a first-aid kit, multitool, flashlight, charger, or pen. Every item has its place, and you can see at a glance what’s missing. We use this approach in several Blackpack modules:
| Module | Purpose | Compatible With |
|---|---|---|
| EDB Single Module | Compact first-aid kit or tool set, each item on a separate strap | Every Day Bag 1 and 2 |
| EDB Double Module | Largest folding module: a full first-aid kit or tool set, pre-assembled | Every Day Bag 1 and 2 |
| MOLLE Organizer for IGB | Small items and tools in a universal compartment | IGB 5 |
| MOLLE Module for Pouch 2 | Tools and small items in the main organizer compartment | Pouch 2 |
| Piston Organizer Module | Tools, meds, gadgets: front elastics secure each item, back mesh for cables and small things; 25×13×4 cm, 200 g | Any bag or backpack, can be carried separately |

EDB modules attach inside the Every Day Bag with snaps. A handy scenario: assemble your first-aid kit in a module once, then just move it between bags or take it separately when you don’t need the bag. The Every Day Pouch (EDP) organizer has MOLLE straps inside — next to the pockets for small items.

What to Attach to MOLLE in the City and on the Road
The best rule of thumb: put things on MOLLE that you need to access quickly or that should always be with you. A few proven options:
- First-aid kit. Tourniquet, hemostatic gauze, gloves — in a module that can be reached with one hand.
- Flashlight. A compact flashlight in a pouch or clipped to a strap.
- Multitool and knife. Inside — on the module straps, so they don’t rattle among other things.
- Phone and power bank. In a small pouch on the external panel when the main compartment is full.
- EDC essentials. Pen, charging cable, carabiner — we’ve gathered ideas in the article “10 Useful Small Items for Your Organizer”.
Don’t overload the external panel: a heavy module on a small bag pulls it forward and changes the fit. It’s better to put heavy items inside, closer to the body, and leave light, quick-access items on the outside. More on what to carry daily in our Everyday Carry guide.

How to Check MOLLE Quality Before Buying
- Grid spacing: rows every 25 mm — otherwise standard modules won’t fit.
- Stitches between loops should be reinforced, with no skips or loose threads.
- For laser-cut panels — clean slot edges, with no material delamination.
- The module shouldn’t wobble or slide along the row after weaving.
- The base material under the panel should be dense: thin fabric will deform under a heavy module. We explained the differences between Cordura, X-Pac, and UltraGrid in a separate article.
MOLLE FAQ
MOLLE is an acronym for Modular Lightweight Load-carrying Equipment. It refers to a system where modules are attached to a grid of nylon webbing.
PALS is the actual webbing grid (Pouch Attachment Ladder System), while MOLLE is the entire equipment system that uses this grid. In everyday language, the names are used interchangeably, so “MOLLE panel” and “PALS grid” mean the same thing.
The webbing is 25 mm wide, rows are spaced 25 mm apart, and the webbing is sewn to the base every 38 mm (35–40 mm is acceptable). Laser-cut panels use the same spacing.
Yes, if both follow the standard 25 mm spacing. That’s exactly why the system was standardized. Before buying, it’s worth checking the width of the module’s straps and the distance between rows on the bag.
Yes. A laser-cut Hypalon panel looks understated and is almost indistinguishable from the bag’s regular texture. If modules aren’t needed, the panel remains empty and doesn’t draw attention.
Unsnap the button at the end of the strap and gradually pull the strap out of the loops in reverse order. Don’t pull sharply — this will help the straps and the laser-cut panel edges last longer.
Summary
MOLLE isn’t about tactics; it’s about order: one bag that can be reassembled for the day, and items that always stay in their places. If you want to try the system in the city, start with the Every Day Bag 2 with a laser-cut panel and an EDB module for a first-aid kit. All modules and accessories are gathered in the Modules and MOLLE section.